How to install WordPress
As you know WordPress is a most popular Content Management System (CMS) and a blogging platform, today we are going to see how we can install wordpress on our local Linux/Ubuntu System.
Step 1 – Download WordPress –
https://wordpress.org/download/
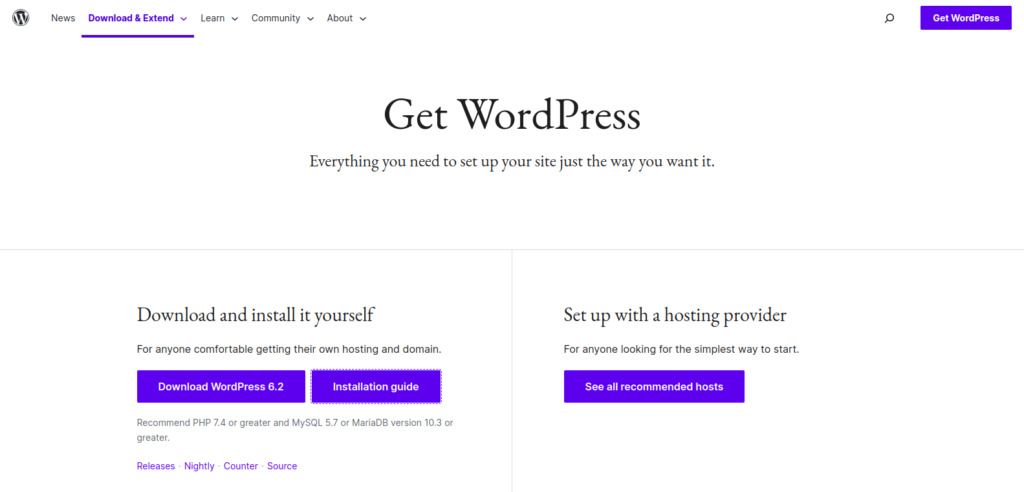
While writing this article latest version is WordPress 6.2
Step 2 – Unzip the downloaded files in your local server project directory.
For example – On Ubuntu you can extract it under /var/www/html
– Lets create a project directory. And copy/paste all the WordPress source code in it.
OR
– When you extract the zip by default it creates directory with name WordPress. You can copy as it is and paste it in your server root directory.
Example – /var/www/html/wordpress
Rename wordpress with your project root directory name
So now it will be – /var/www/html/myblog
Step 3 – Create a new virtual host which points to your project root directory.
Step 4 – Create a new database in MySQL/MariaDB
Step 5 – Now run the project url whatever you have given in VirtualHost
You can see following screen just click on “Let’s go!”

After that you need to enter database name, username, password and click on “Submit”

After that you can see following screen. Now click on “Run the installation”

- Here you need to provide your website title.
- WordPress admin username & password
- Email Address
- Search Engine Visibility you can keep enable/disable as per your requirement. usually on local installation it is not required. But If you are doing installation on Live Server then you can keep this checkbox unchecked.

Now installation is started. Once it gets complete, you login to WordPress admin panel & also can view website


Once You login you can see the WordPress Dashboard.

Also You Can View the website front end

You are done with the installation 😉